Resize Photo Image Howto
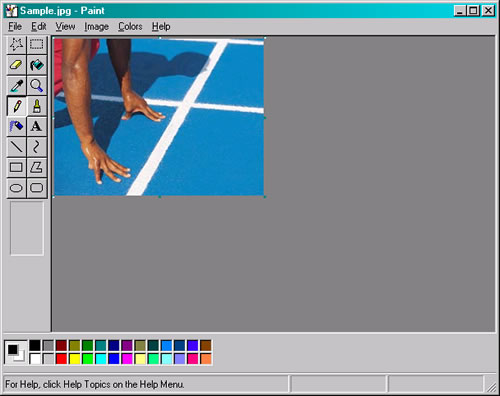
Step 1 Locate and Open Microsoft Paint
Paint is usually located as follows: Click on "Start" in the lower left of your screen, then "Programs", then "Accessories", then "Paint"
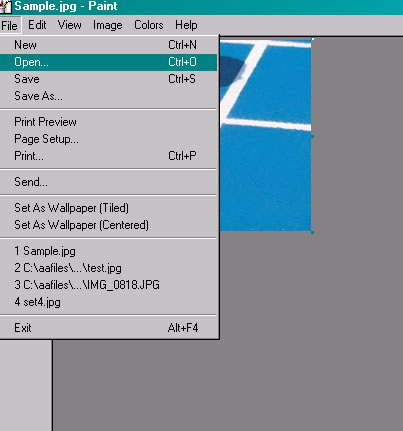
Step 2 Open your photo
Click on File, Open and locate your photo.
When looking for your file be sure to change the "Files of Type" to the correct type (jpg), or choose "all picture types".
Step 3 Resize
Now that your image is loaded, click on "Image", then "Stretch/Skew".
We will only use the "Stretch" part off the dialog box.
You must use the same "Percentage" in both the Vertical and Horizontal settings.
A percentage setting between 33% and 55% should be about the right number to bring the file down to the 30kb maximum size.
You will have to experiment with what is right for your digital camera as each camera has a different resolution.

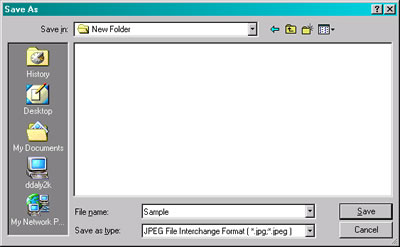
Step 4 Save the new Image
Save the image by clicking "File", then "Save As".
Be sure to select "JPEG" as the "Save as Type" in the dialog box.
Also select a different name for the file so you don't over write your original.
Step 5 Check the New Image Size
Open File Explorer and navigate to where your file is, display file details and check to see that the file is 30kb or smaller.

If the image is too small or big, click on "Edit" in "Paint" (not the "File Explorer" window above), then "Undo" to get the image to original size.
Then repeat Step 3, 4, and 5 as needed